
Dog gate installation safety guide
Dog gate installation checklist
Use a practical dog-gate installation checklist for UK homes, from opening measurements and fixing surfaces to latch testing, dog behaviour and routine checks.
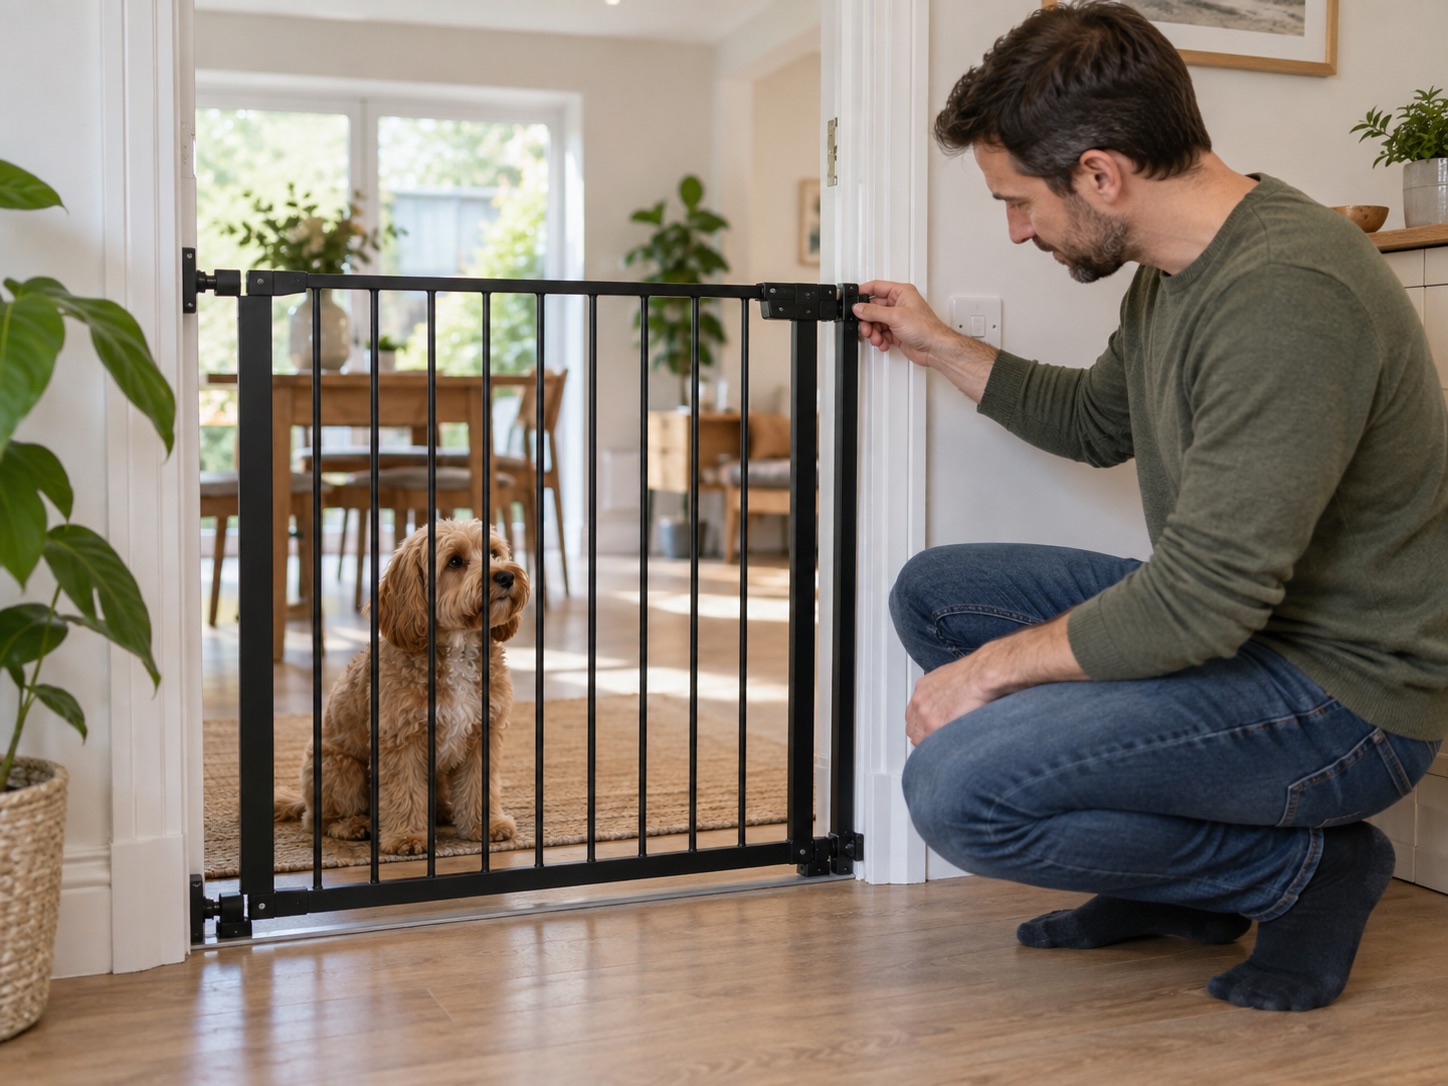
Select the location and mounting method before measuring.
Install every supplied bracket, cup, extension and direction stop as required.
Recheck the latch, fixings, floor route and dog after impacts or changes.
Before buying: define the job and location
Write down what the gate must prevent: access to cooking, a whole room, an exterior door or stairs. Consequences differ. A level-room divider and a top-of-stairs barrier are not interchangeable. Choose a model whose instructions explicitly permit the intended position, then measure its actual installation line at floor, middle and top height. Our measurement guide gives the full record.
Identify both fixing surfaces. Timber, masonry, plasterboard and banisters need different approved hardware. Record skirting projection, door swing, radiators, furniture and the route a person must still use. If the safe gate line would block an exit or make everyday passage unworkable, change the room plan before ordering.
Scroll horizontally to see all columns →
| Stage | What to verify | Stop if |
|---|---|---|
| Before buying | Location, width, height, wall type | Exact model cannot fit safely |
| During fitting | All specified parts and alignment | Any fixing or component is missing |
| First use | Latch, frame movement, gaps, human route | Gate shifts or dog can pass |
| Routine use | Wear, tension, screws and dog behaviour | Damage, distress or repeated impact |
During installation: follow the exact parts list
Unpack and compare every bracket, screw, cup, connector, stop and extension with the instructions. Do not use a damaged gate or borrow fittings from another model. For wall-mounted designs, choose anchors suitable for the structure and fit the door-direction stop where the maker requires it.
The Safety 1st Wall Fix illustrates a screw-fixed gate without a pressure-frame floor bar. It still needs sound opposing fixing points and the correct opening direction in a stair-approved configuration.
A pressure-fit frame such as the PawHut 104cm gate needs its pads evenly placed and tensioned exactly as instructed. Confirm the bottom rail sits flat and the latch aligns after tension is applied. Its small-pet flap needs a separate containment check.
For a modular system, check every panel hinge and wall end, not only the walk-through section. BabyDan Flex L is one example for a broad or angled opening; its listed range depends on the approved assembled configuration.
Before the dog uses it: test four things
First, open and close the gate repeatedly from both sides. The latch must engage without lifting or twisting the frame. Second, apply gentle controlled pressure to upper and lower corners; no bracket, pad or panel should move. Third, inspect the whole lower edge, side gaps, bar spacing and any pet flap from the dog's side. Fourth, walk through it as people normally will, checking the floor bar, door swing and whether you can reach the latch comfortably.
Do not push hard enough to damage the installation as a substitute for manufacturer testing. A gate that rocks, catches, misses the latch or leaves an escape gap is not ready. Correct the fit before introducing the dog.
Introduce the dog and keep checking
Practise calm movement around the new boundary while someone is present. Reward waiting away from the bars. If the dog repeatedly jumps, slams, bites or tries to squeeze under it, change the plan; a stronger-looking gate is not a cure for distress or an unsafe room layout.
Check latch action during routine use and inspect tension, screws, cups, joints and coating regularly. Repeat the full check after a heavy knock, a change in flooring or skirting, or as a puppy grows. If children share the area, verify the exact gate's child-safety instructions as well as its dog-management role. For stairs, use our stair gate guide before any installation.
Common questions
Frequently asked questions
How do I know a dog gate is fitted correctly?
Compare the final setup with the exact manufacturer's instructions, then check alignment, latch action, every fixing and any lower or side gap. A gate that shifts under gentle controlled pressure needs correction.
Should a dog gate swing over stairs?
A top-of-stairs gate should be an exact model approved for that position and configured as its instructions require; a swing into the flight is normally an unacceptable risk. Consult the stair-specific guide.
What if a pressure-fit gate moves after a few days?
Stop using it and check the surfaces, tension, cups and all extensions against the instructions. Do not keep tightening a gate on unsuitable walls or a distorted frame.
Can I use a gate with a missing screw or connector?
No. Replace the exact missing part with maker-approved hardware or stop using the gate. A substitute fastener can change the fit and strength.
How often should I inspect a dog gate?
Check latching and obvious movement in routine use, inspect hardware regularly, and recheck immediately after any knock, house alteration or change in the dog's behaviour.
Sources
- BabyDan — safety gate manuals
- BabyDan — gate types and stair positions
- RoSPA — safety-gate fitting and trip-bar rationale
- Amazon UK example products linked in the guide