
Car crate safety guide
How to secure a dog crate in a car
Follow a practical dog car crate installation checklist covering anchor points, straps, boot fit, door access, ventilation and pre-drive checks.
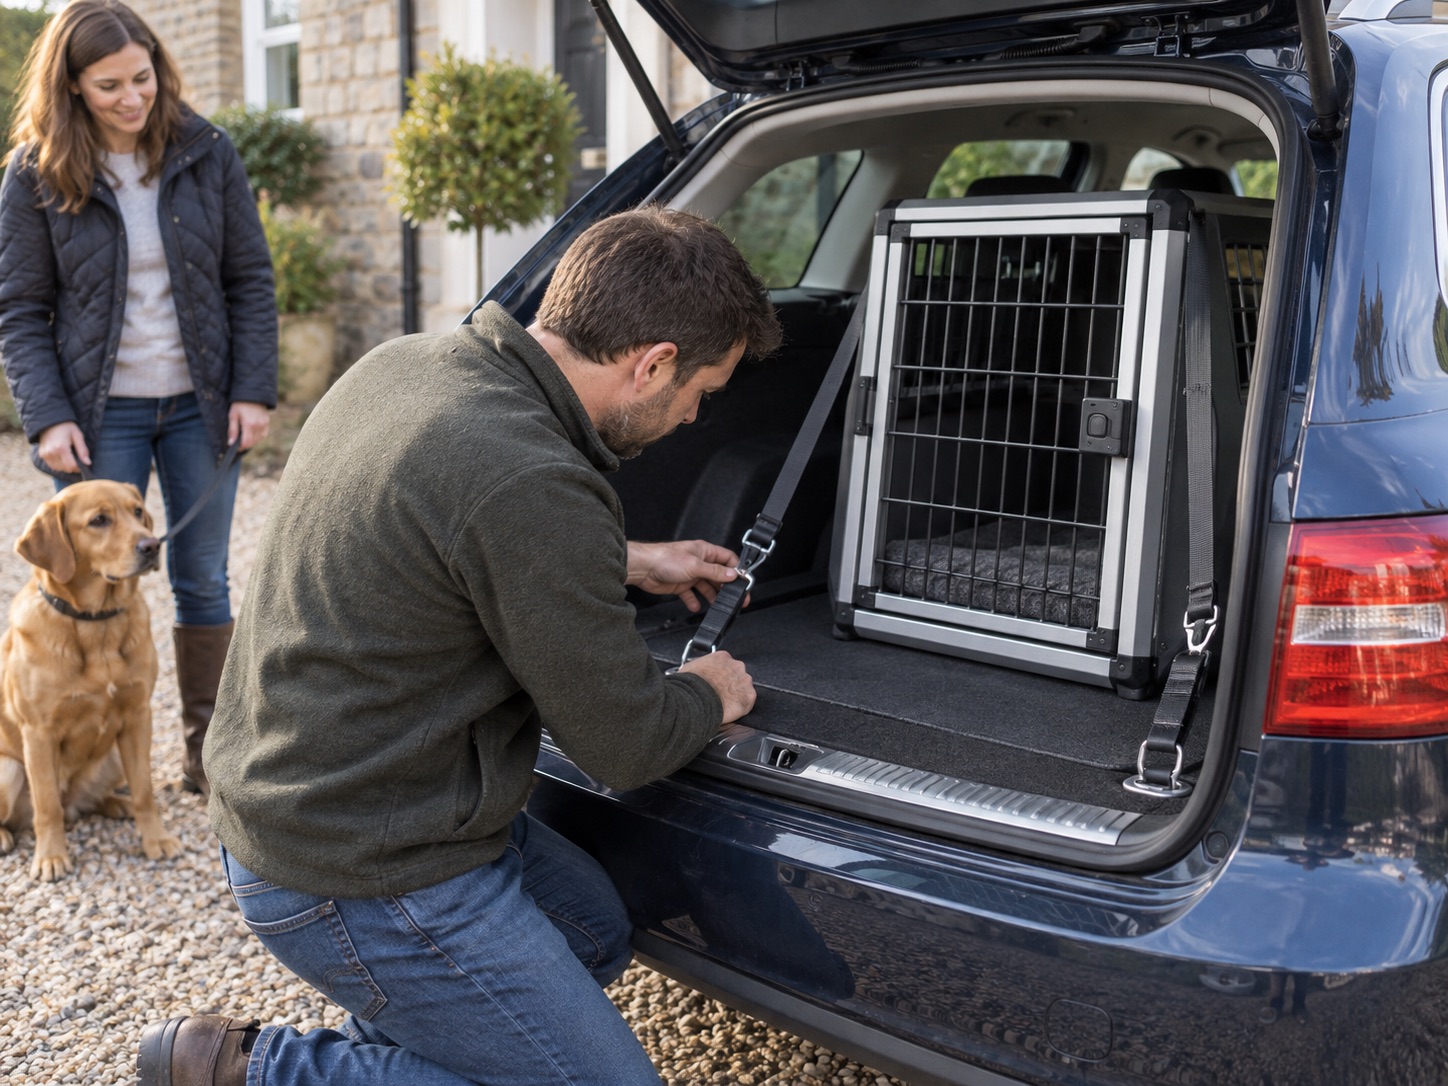
Read both the crate and vehicle manuals before routing a strap or using a cargo loop.
Attach to the specified points, tighten as directed and confirm the door and emergency exit work.
Recheck tension, locks, luggage and air flow before each journey.
First identify what the crate is designed to do
A household wire crate, soft destination crate and purpose-built car crate may all be called “travel crates”, but they have different structures and instructions. Do not invent an anchor route for a product whose maker has not approved vehicle use. Our home-crate comparison helps make this distinction.
Highway Code Rule 57 asks for suitable restraint to prevent distraction and injury on a quick stop. The crate itself must remain where it is installed; simply putting the dog behind a closed tailgate is not enough.
A step-by-step installation check
1. Confirm the car and dog fit
Measure the dog, boot aperture and usable floor and roof space. Ensure the tailgate closes without pressing on the crate. Leave the maker's required rear and side clearances; some systems deliberately reserve a crumple zone. Our measurement method covers the awkward points.
2. Locate approved attachment points
Consult the vehicle handbook and crate manual. Identify each cargo loop or bracket the crate maker specifies. Check that luggage, spare-wheel access and moving seats do not interfere. Do not attach to a seatbelt buckle, child-seat anchor, headrest or plastic trim unless the exact instructions explicitly permit it.
3. Fit the prescribed straps or brackets
Assemble and place the crate as directed. Route every strap through its specified path without twisting, trapping it in the door or crossing a sharp edge. Tighten to the maker's instruction and lock any adjustment mechanism. Thule's Allax manual, for example, specifies the supplied tension bands to cargo loops; that arrangement is an Allax instruction, not a generic rule for every crate.
4. Check access and the load around it
Open and close the main door with the tailgate raised. If the product has a rear escape hatch, make sure that route is usable. Push the installed unit from several directions and inspect attachment tension. Secure bags and tools independently so they cannot strike the crate or block vents. A sloping aluminium option such as CADOCA still requires its own approved method; do not transfer Thule's installation claims to it.
Before every drive
Check the door catch, all straps or brackets, ventilation, shade and boot load. Keep a way to reach the dog if the tailgate jams, and carry any key or tool the crate needs. Stop and reassess if the dog is distressed or the car becomes warm. Never leave a dog unattended in a warm vehicle; an open window or shade does not make it safe.
Common questions
Frequently asked questions
Can I just wedge a dog crate tightly in the boot?
No. A tight-looking fit does not replace the manufacturer's restraint method and can remove required rear clearance or damage the car.
Where should the straps attach?
Only where the crate and vehicle manufacturers specify. Cargo loops vary in purpose and load rating; do not improvise with seat hinges, child-seat anchors or trim.
Should a dog crate move when I push it?
The installed crate should not slide, tip or strike trim under a firm manual check. Follow the maker's particular tension and clearance instructions rather than assuming zero movement is always the design goal.
Can I use luggage straps from a shop?
Use only straps or brackets approved for the exact crate and installation. A generic strap may have the wrong route, strength or buckle behaviour.
Do I need to check the crate every trip?
Yes. Confirm attachment tension, door latch, exit, ventilation and the position of luggage, especially after the crate has been removed or the seats moved.
Sources
- GOV.UK — Highway Code Rule 57
- Thule — Allax installation instructions
- Thule — Allax product information
- Amazon UK product pages linked from the product cards